
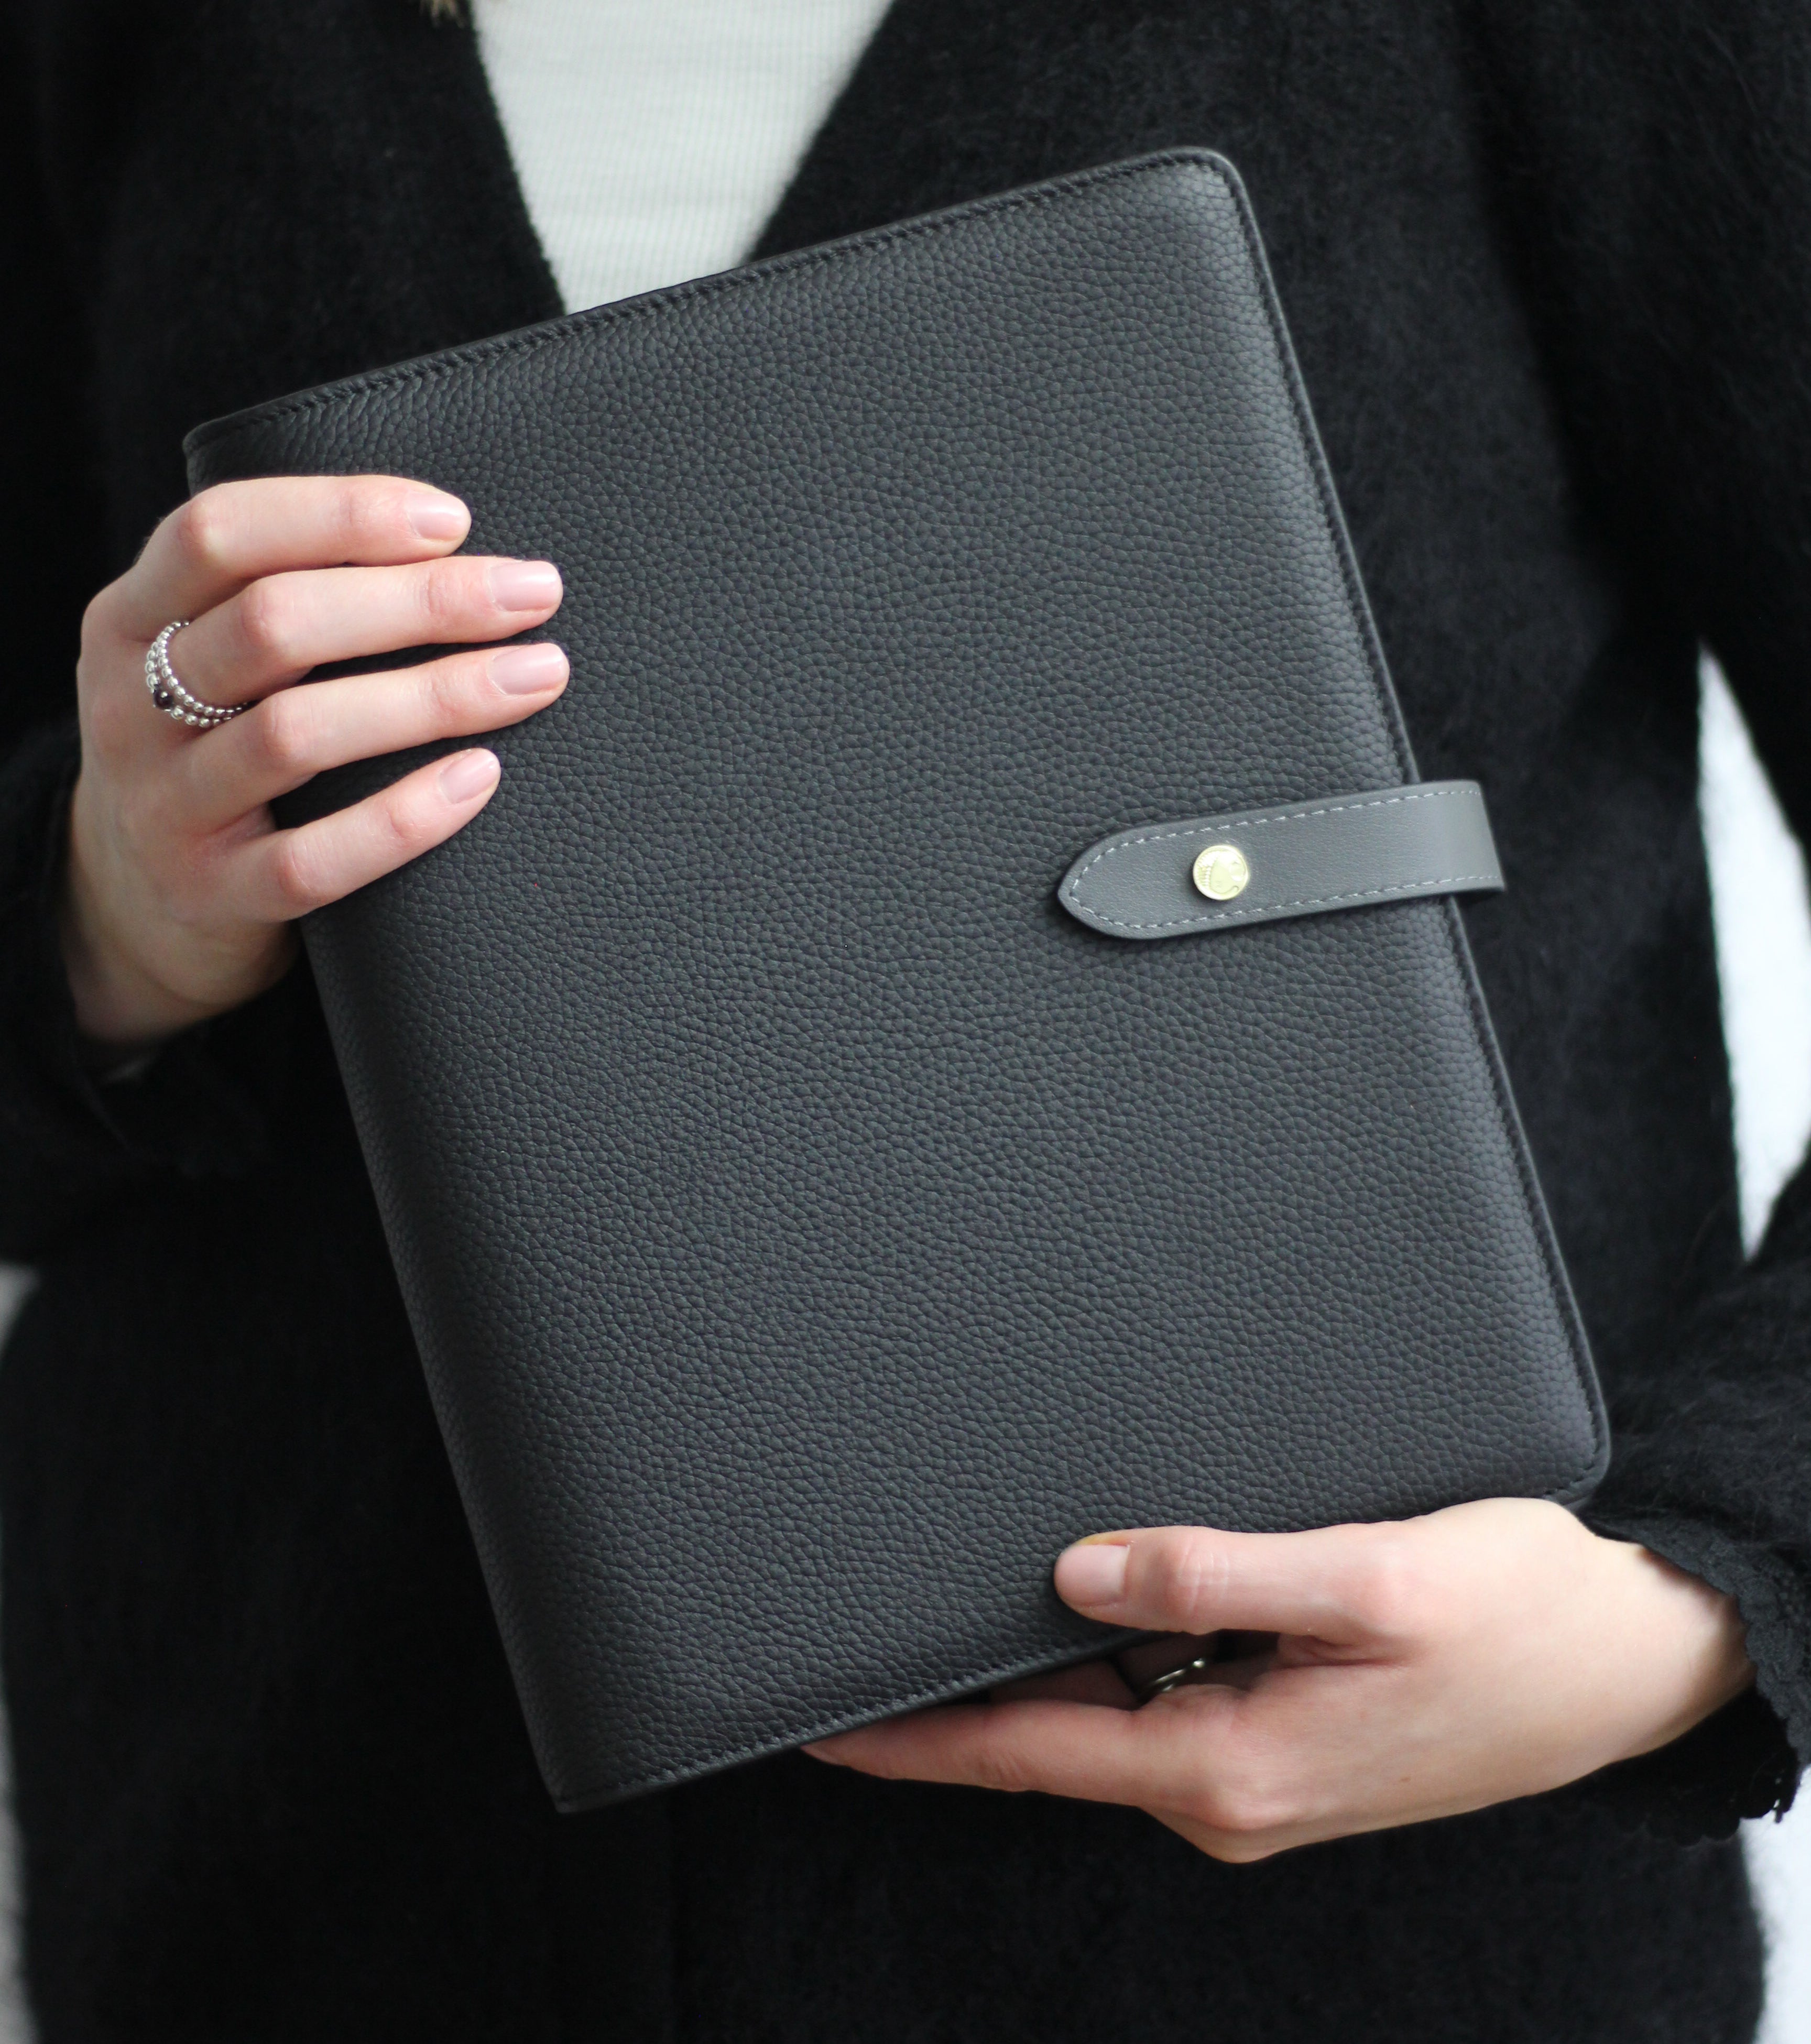

TL;DR: If you’re ready to create a functional and beautiful planning system, a 6-ring planner setup gives you full control. Start simple, build section by section, and make it completely yours!

How to Build a 6-Ring Planner Setup That Actually Works for You
Do you remember setting up your first planner? I do—and I also remember how overwhelming it felt. What inserts do I need? What goes where? Am I even doing this right?
That’s why I love the simplicity and flexibility of a 6-ring planner setup. It gives you the freedom to design a layout that works for your life—whether that’s filled with appointments, ideas, goals or even just reminders to drink more water!
If you’re just starting out—or if your current setup isn’t quite clicking—this guide is for you.
What’s the Best Way to Start a 6-Ring Planner Setup?
Here’s a simple roadmap:
1. Pick the right size for your needs
A5 gives you space to spread out. Personal size is perfect if you’re always on the go. Pocket size is great for minimalists. Start with what feels good in your hands and fits your lifestyle.
2. Choose your core sections
Think of your planner in zones. Some popular ones include:
-
Monthly + weekly planning
-
To-dos and routines
-
Goals + vision
-
Notes + ideas
-
Budget
-
Health + wellness
Don’t feel pressured to use them all—just choose the sections that match the season you're in.
3. Add your inserts thoughtfully
Our printable or pre-printed inserts are designed to be clean, minimal, and purposeful—so you can stay focused without distraction. Start with just what you need, and layer more in as you go.
Why a 6-Ring Setup Makes Planning So Much Easier
Because it grows with you! You’re not stuck with a layout that doesn’t serve you. You can move sections around, add fresh inserts, and remove anything that’s not working. It’s planning made personal—and I think that’s what makes it so powerful.
FAQ
Q: What’s the difference between printable and printed inserts?
Printables are digital files you print yourself—great for flexibility and quick changes. Printed inserts come ready to pop into your planner, beautifully finished and printed on our signature paper.
Q: Do I need to fill every section straight away?
Not at all! Start small. Just one or two sections is more than enough to get going.
A Final Thought
You don’t need to have it all figured out to get started. Begin with one section. Add what’s helpful. Remove what’s not. Your planner should work for you—and with a 6-ring setup, it absolutely can.
I’ve put together a Complete Planner Setup Kit to make this easy for you—it’s the one I wish I had when I was starting out! You can check it out here.
We also offer consultations for setting up your planner, you can drop us an email, hello@crossbowplannerco.com and we'll help you find the perfect setup you need.
Let’s get planning!


